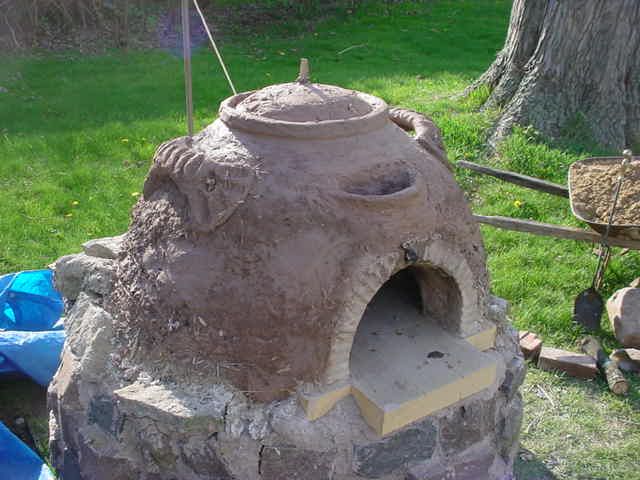
I tried out one of the pottery-looking ideas on the actual
oven. It wasn't bad but my potter's eye kept critiquing the pot.
The oven was nice as an oven, even undecorated. But the pot
was bottom heavy, needed trimming, wasn't the right proportions.
It seemed to turn my perfectly respectable ancient style oven into
a sight gag. Meh. I pulled off the handles the next day and
carved off the fake lid/gallery. Boy, it was NOT easy! That
structural cob gets rock hard, fast!
So. Something more subtle.
I made another batch of clay mix, what Kiko calls "plaster". Ideally it would be cow or horse or buffalo manure,
something with short little fibers that would hold the clay together against the weather.
In my case, I asked homeschooler friends to save me their dryer lint. One said, "I have a bag of newfoundland dog fur we
have been meaning to card and spin..." (Did I mention homeschoolers are quirky?) I mixed it all up with a big shovel full of
cherry shavings from Jeff's lathe and lots of sand, some short chopped straw and really wet clay. It was... well, kinda
gross actually, with all that dog hair in it, but I smeared it on and it held solid.
It wasn't (still isn't) as pretty, round or smooth as the inner
dome was, but tomorrow morning I intend to go paddle it
smooth. I also painted another thin layer over the wet
plaster -- the slip from my back yard clay, poured though a
sieve so it had no sand in it. It made a nice shiny outer layer
with no wood shavings or fibers showing, and seemed to seal
it. Highly unscientific.. I just did it because it felt like a good
idea. We'll see.
It was too wet to decorate so I decided to make the cob
door. (I am not a patient person, and considered briefly getting
out my weed burner/flame thrower to help it dry.. but chose the
door project instead.)
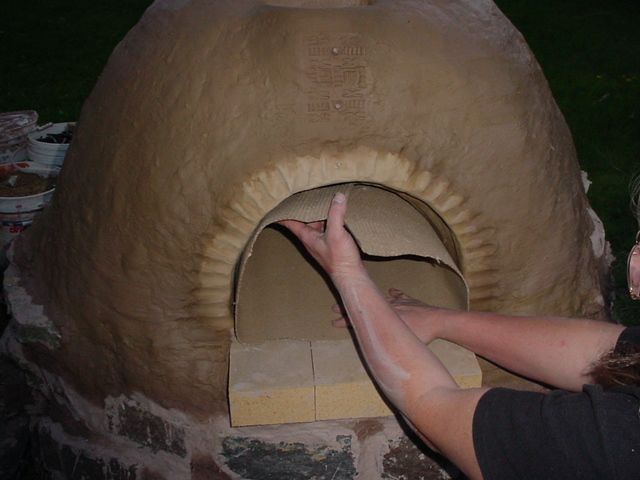
I put two bricks inside the oven to define the back of the doorway and keep the clay from squishing in too far, then used a
long strip of corrugated cardboard to line the floor and arch. I made yet another batch of clay in a storage tub -- no dog
hair this time (burning dog hair... yuck) just wood shavings, straw, clay and sand. I used really wet clay. The cob door is wide
enough that it blocks the chimney as well, so I will have to carve the back of it off to give the smoke a way to get up the
chimney.. and then I will make a thick cob chimney plug to keep the heat in when I am baking.
I can tell already that the door will be slightly narrower than the doorway, because of the cardboard, but I think I can add
more cob to make it airtight.
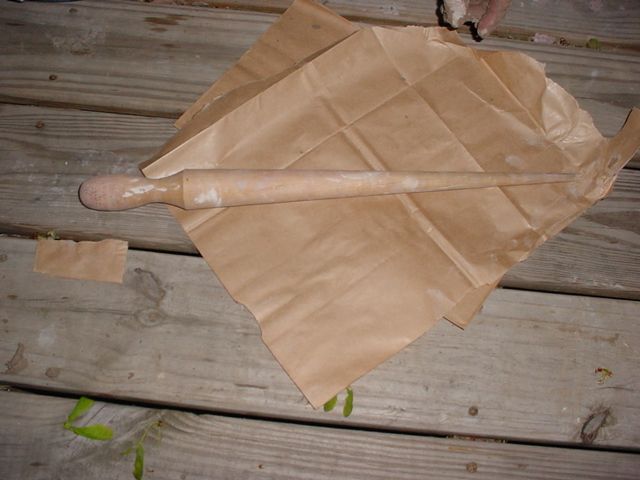
The door will need to let air in when a fire is burning, so I made a hole. I took a dibble
my husband turned for me and wrapped it in paper, and just built the cob door around it.
my husband turned for me and wrapped it in paper, and just built the cob door around it.
In the morning the door should be dry enough to pull out by the
cardboard, and trim, paddle and carve into shape.
I am pleased with how many recycled materials I have used. My
total cost is still $36, though my back is sore, my arms scraped
from stirring cob and my hands and nails are pretty ragged.
cardboard, and trim, paddle and carve into shape.
I am pleased with how many recycled materials I have used. My
total cost is still $36, though my back is sore, my arms scraped
from stirring cob and my hands and nails are pretty ragged.
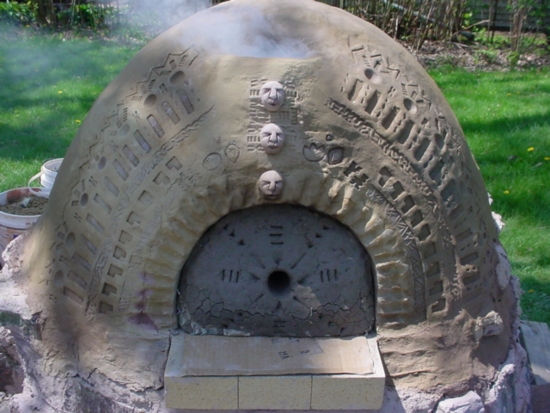
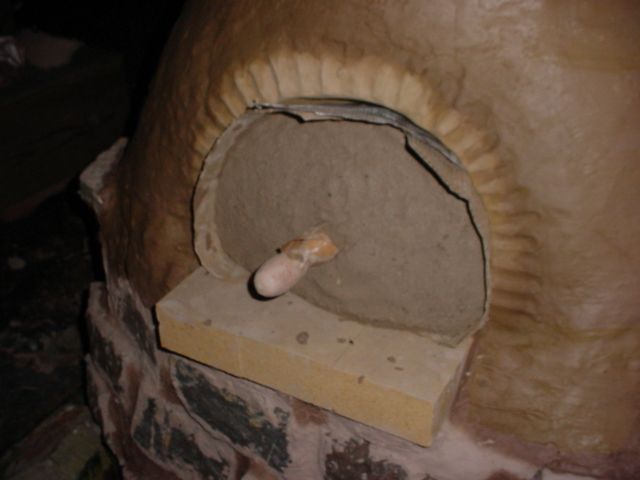
DONE. For now, anyway. The temptation to
continue tinkering -- add another layer,more designs--
is outweighed for my impatience for this thing to finally
dry so I can bake in it!
The cob door is sitting on a cardboard to I can pull it
out when it dries. It's almost 8 inches thick at the
bottom but allows smoke to reach the chimney at the
top.
Already folks are asking if I can build them one. That's
kind of like asking a woman who just gave birth
whether she plans to have more children. Yikes! it's
really a big job. I did build this one all by myself,
though, in a couple of weeks of stolen afternoons.
Once I figure out how to fire it, I am going to have
some serious back yard gatherings!