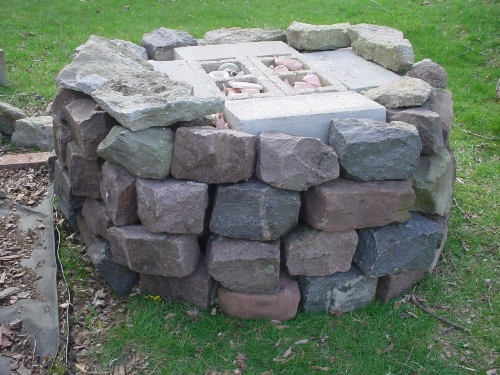
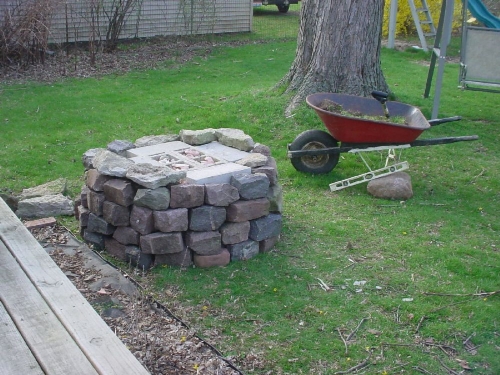
April 12: I dug out the sod, and kind of leveled the
surface. I scrounged the stone (and what Build
Your Own Earth Oven author Kiko Denzer in
calls "urbanite" for fill) out of a vine-covered,
collapsed stone wall behind an old house. The
cinderblocks I used to make the "core" were in my
garden, left over from my hoop greenhouse
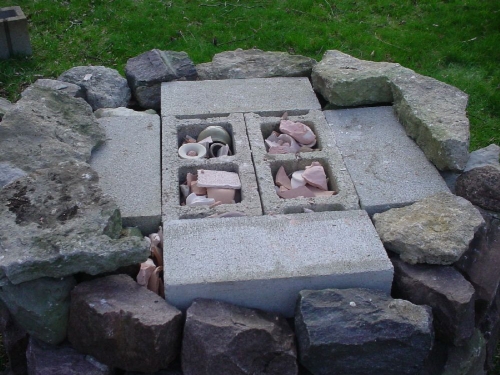
project. (See that here. ) I filled the cinderblock
holes with broken bisque and pottery from my
studio. So far, total cost -- zero!
surface. I scrounged the stone (and what Build
Your Own Earth Oven author Kiko Denzer in
calls "urbanite" for fill) out of a vine-covered,
collapsed stone wall behind an old house. The
cinderblocks I used to make the "core" were in my
garden, left over from my hoop greenhouse
project. (See that here. ) I filled the cinderblock
holes with broken bisque and pottery from my
studio. So far, total cost -- zero!
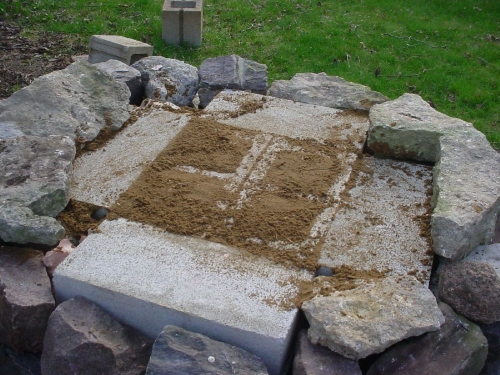
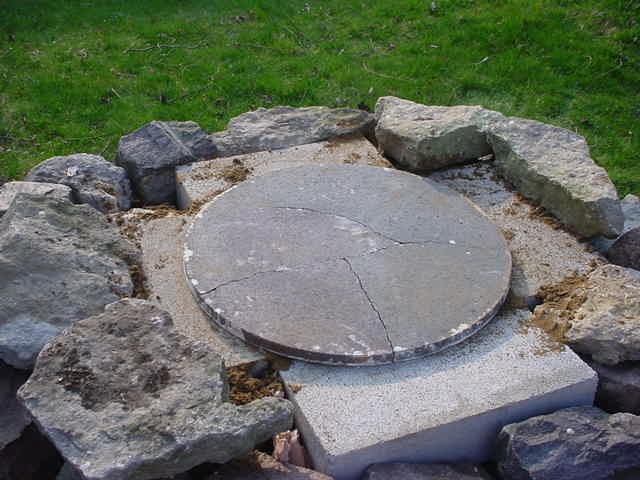
After filling the empty spaces under the future hearth with pot shards, I filled the holes with some sand the
groundhog excavated from his den into my garden. Then I put an old broken silicon carbide kiln shelf on
top of it all and covered it with fine sand about an inch deep to lay the fire brick hearth..
groundhog excavated from his den into my garden. Then I put an old broken silicon carbide kiln shelf on
top of it all and covered it with fine sand about an inch deep to lay the fire brick hearth..
Then I spent some money. I found a place downtown that sells
refractories, and bought 20 fire bricks for about $30, then picked up a
few bags of mason's sand at a couple bucks each.
refractories, and bought 20 fire bricks for about $30, then picked up a
few bags of mason's sand at a couple bucks each.
To make the mortar, I dumped a bag of sand into a shallow plastic
storage box, and added wet clay. It was a lot like a pie crust dough --
dry looking, a lot of little lumps that stuck together when squeezed.
Mostly sand! I used it to chink the spaces between my rocks, and fill the
gaps in the top.
storage box, and added wet clay. It was a lot like a pie crust dough --
dry looking, a lot of little lumps that stuck together when squeezed.
Mostly sand! I used it to chink the spaces between my rocks, and fill the
gaps in the top.
My home page:
primalpotter.com
primalpotter.com
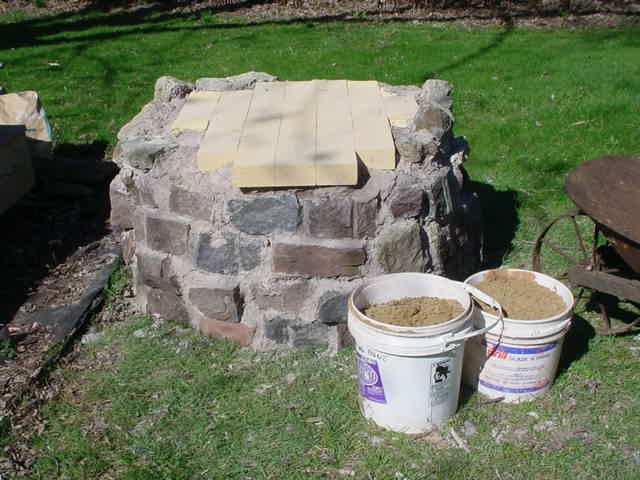
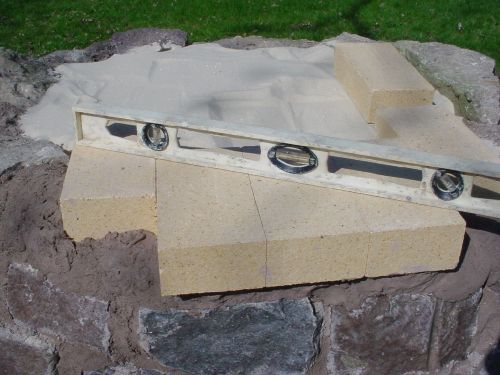
I spread fine sand over the old kiln shelf (and some broken bits I used
around the edges, packed in with my clay-sand mortar). Then I
nested the fire bricks down into the sand and leveled them.
around the edges, packed in with my clay-sand mortar). Then I
nested the fire bricks down into the sand and leveled them.
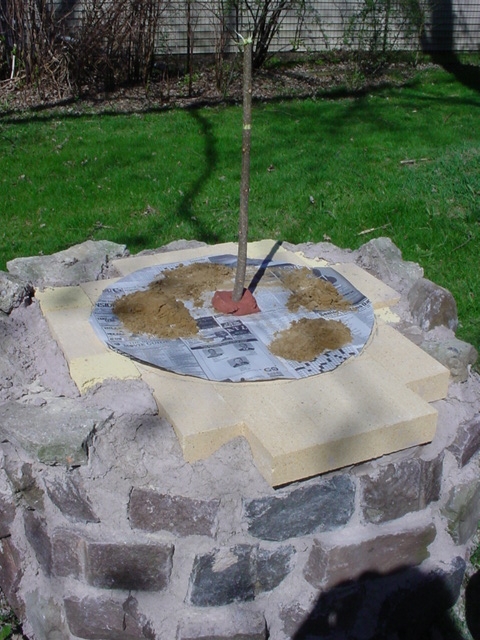
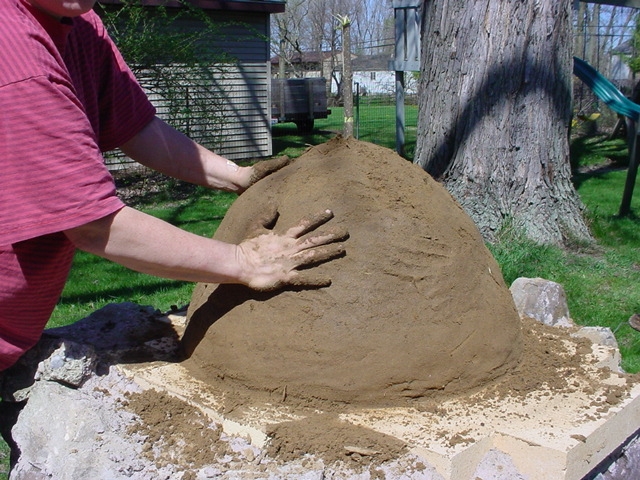
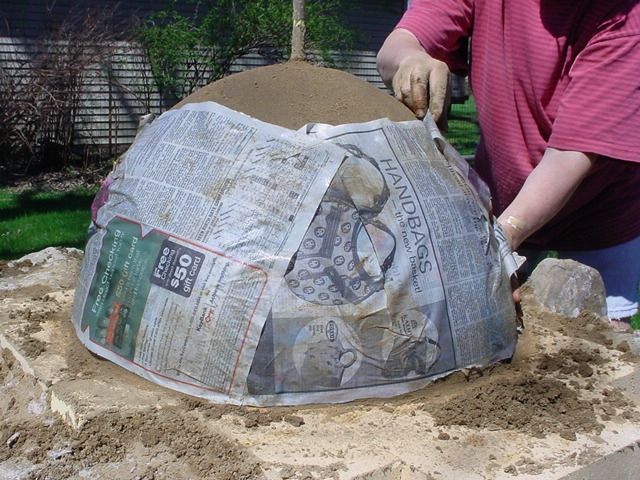
I cut out a circle of newspaper 26 inches across and centered it on the
hearth. I measured the dome height I wanted (13 inches) and marked a
stick, and stuck it in the middle. The sand was to keep the paper from
blowing away. Next, I started piling wet sand on the paper and shaping it
into a dome..
hearth. I measured the dome height I wanted (13 inches) and marked a
stick, and stuck it in the middle. The sand was to keep the paper from
blowing away. Next, I started piling wet sand on the paper and shaping it
into a dome..